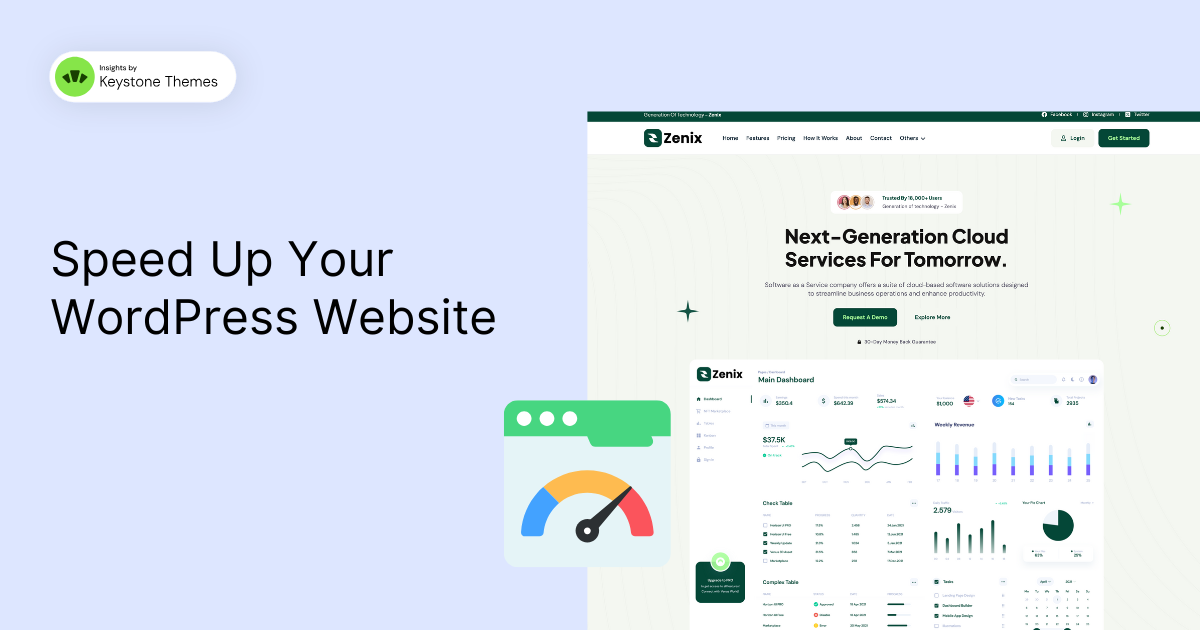
How to Speed Up Your WordPress Website
Is your WordPress website running slower than you’d like? We’ve been there too. After searching endlessly for solutions and trying various fixes, we realized that it’s


If you encounter an issue on your site requiring an increase in the WordPress memory limit, don’t worry—this can be easily resolved by editing your wp-config.php file. Follow the steps below to get it done:
⚠️ Important: Always back up your website before making changes to critical files likewp-config.php.
Steps to Increase WordPress Memory Limit
1/ Access Your WordPress Files
Use an FTP client or your hosting file manager to navigate to your website files.
2/ Locate the wp-config.php File
You’ll find this file in the root directory of your WordPress installation.
3/ Open the File for Editing
Right-click the wp-config.php file and select Edit or Open.
4/ Find the Following Line:
/* That's all, stop editing! Happy publishing. */5/ Add the Memory Limit Code
Insert the following line of code right above the line mentioned in Step 4:
define('WP_MEMORY_LIMIT', '256M');
6/ Save the File
Once you’ve added the code, save your changes.
Congratulations!
You’ve successfully increased your WordPress memory limit. This change will help prevent memory-related errors and ensure smoother performance for your site.
Is your WordPress website running slower than you’d like? We’ve been there too. After searching endlessly for solutions and trying various fixes, we realized that it’s


 Optimized by Seraphinite Accelerator